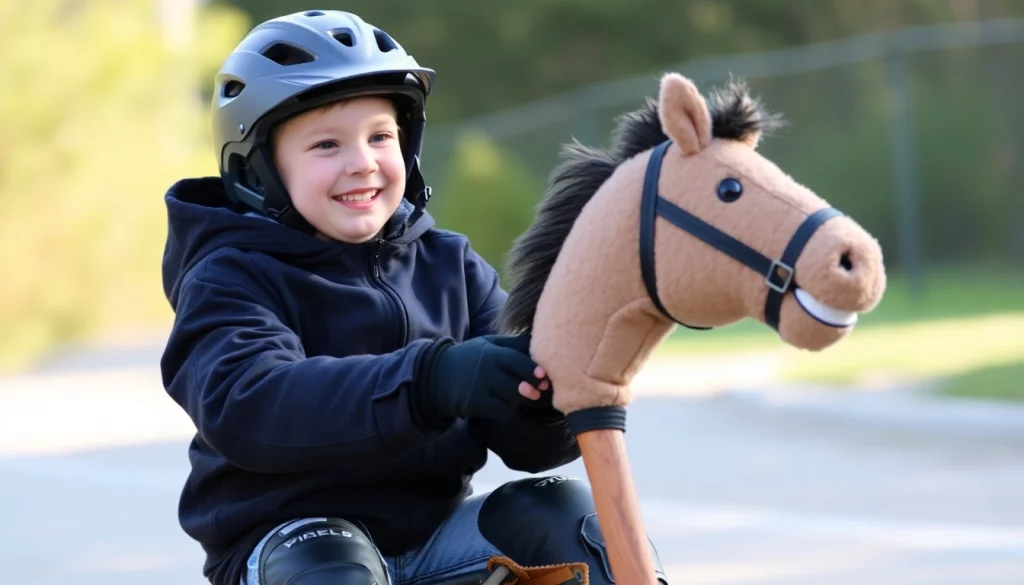
A Mane Craft: Your Ultimate Guide to DIY Hobby Horse Tutorials
Have you ever thought about creating something truly unique? Something that combines creativity, play, and a bit of nostalgia? **DIY hobby horses** might just be the perfect answer. Imagine crafting your own whimsical steed that reflects your personality. The excitement of making something with your own hands is unmatched. Let’s dive into the world of DIY hobby horses and explore the joy of crafting your own creation.
Why Hobby Horses? The Joy of Creating Your Own Steed
Why choose a hobby horse? The reasons are as varied as the horses themselves. First, there’s the **creativity** involved. Designing your own hobby horse allows for limitless imagination. You can choose colors, patterns, and styles that resonate with you. This personal touch transforms a simple craft into a treasured keepsake.
Moreover, making a hobby horse can be a delightful bonding experience. Whether you’re working with family, friends, or even solo, the shared laughter and moments of joy make the process memorable. The satisfaction of completing a DIY project is profoundly empowering. You are not just crafting a toy; you are creating a piece of art that embodies your spirit.
Gathering Your Supplies: What You’ll Need
Ready to start your crafting journey? The first step is gathering the right supplies. Being prepared is key to a smooth and enjoyable DIY experience.
Essential Materials: From Fabric to Foam
Here’s a list of essential materials you’ll need:
- Fabric: Choose durable and colorful fabrics for the body and mane. Felt, fleece, and cotton work well.
- Foam: High-density foam is perfect for the horse’s head, providing structure and softness.
- Wooden dowel: This will serve as the horse’s neck and handle, ensuring stability.
- Stuffing: Polyester filling is great for adding fluffiness to the horse’s body.
- Thread and Sewing Supplies: Don’t forget needles and scissors!
Tools of the Trade: What You Can’t DIY Without
Now that you have your materials, let’s talk about the tools you’ll need:
- Sewing Machine: Makes stitching faster and cleaner.
- Hot Glue Gun: Perfect for securing parts that don’t require sewing.
- Scissors: Invest in a good pair for precise cutting.
- Measuring Tape: Essential for ensuring your pieces are the right size.
Step-by-Step Tutorials: Crafting Your Dream Hobby Horse
Now comes the fun part: crafting your hobby horse! Below are structured how-to guides suitable for various skill levels.
Beginner’s Guide: Simple Hobby Horse for Starters
For those just starting out, here’s a simple tutorial:
- Cut your fabric into the desired shapes for the head and body.
- Use the foam to create the horse’s head, attaching it securely to the wooden dowel.
- Sew or glue the fabric around the foam, ensuring a snug fit.
- Add the mane by cutting strips of fabric and attaching them to the head.
- Your basic hobby horse is complete! Now, let your imagination run wild!
Intermediate Level: Adding Personal Touches
Once you feel comfortable with the basics, it’s time to add your personal flair:
- Consider adding **accessories** like a saddle or reins.
- Experiment with different fabrics for the mane and tail to create a unique look.
- Try out different techniques for embellishing the body, such as fabric paint or iron-on patches.
Advanced Crafting: Unique Designs and Features
For the seasoned crafter, the sky’s the limit! Consider these advanced techniques:
- Wiring: Incorporate wiring to create movable parts like ears and tails.
- Sound Features: Add a sound module that plays horse sounds when the horse is moved.
- Lighting: Integrate LED lights for a magical effect during playtime.
Common Hurdles: Troubleshooting Your DIY Project
Every DIY project comes with its challenges. Here are some common hurdles and how to overcome them:
Material Mishaps: Handling Fabric and Foam Issues
If you face issues with your materials, don’t fret! Here are some tips:
- Always pre-wash your fabric to prevent shrinking later on.
- If your foam doesn’t hold its shape, consider using a sturdier type or reinforcing it with additional layers.
Construction Woes: Keeping Your Horse Together
Struggling to keep your parts together? Try these solutions:
- Double-check your glue and stitching for any weak points.
- Consider adding extra supports within the body to ensure durability.
Beyond Creation: Care and Customization for Your Hobby Horse
Your creation is not just a one-time project. It deserves ongoing care and customization!
Styling Your Hobby Horse: The Final Flourish
Now that your horse is complete, it’s time for some fun decoration ideas:
- Add **paint** for personalized designs.
- Use **stickers** or stencils to create patterns or themes.
- Incorporate themed accessories, like a cowboy hat or a flower crown.
Repair and Maintenance: Making Your Steed Last
To ensure your hobby horse lasts for years to come:
- Regularly check for any loose parts or frayed fabric and repair as needed.
- Store your horse in a cool, dry place to prevent material degradation.
Share the Love: Engaging with the Hobby Horse Community
One of the best parts of this hobby is connecting with others. Share your creations, seek advice, and celebrate your achievements with a vibrant community of hobby horsers. Join social media groups, attend local crafting events, and engage with online forums. The joy of sharing your journey will only enhance your experience!
Gallop Into Your DIY Journey: Crafting Fun and Friendship
As you embark on your DIY hobby horse adventure, remember to enjoy the process. Embrace the creativity, celebrate the friendships, and relish the joy of crafting. There’s a whole world of possibilities waiting for you. So grab your supplies and start your journey today!
For more tips and resources on creating your own hobby horse, check out our guides on Creating & Customizing, Making Your Own, Material Selection, Basic Construction, and Advanced Techniques.